Making bows
...touch the tree and ask him for its body to create such a nice thing, like a bow...
...but people take usually without asking, as if everything belonged to them, and trees endure it silently....
... it is our fault that we do not hear, and one day in future we will understand that we rob ourselves of own mind...
I usually use board or staves to make a bow. Wood must be dry, without knots and have good mechanical qualities.It depends on many factors – the age of the tree, the place where it grew, the time of cutting and, last but not the least, the deterrnination of the tree – if it is prepared to create a good bow.
I focus only at selfbows, i.e. bows from one piece of wood. My hands create not only straight stave bows, but also curved snaked bows. I find the second ones more beautiful.
Here I will give the description of the process of two basic bow types:
- Longbow
- Flatbow
1. Longbow
There are a lot of definition, which describe longbow. I mention here these:
Cross section – ratio 5/8 deep/width
Type of tiller – lower shorter limb is stiffer
Best wood for longbow is yew. other timbers have always been used. Alternatives in the Middle Ages were: ash, elm, and wych (wych elm, also then called wych hazel) and from the 15th century brazil, imported from the East. There is also one 15th century reference to ´auburne´ (laburnum).Because yew wood is very rare, I work usually with ash.
You can read many documents and descriptions how to make a bow, so my article is brief and says only the most important things. To make a good bow takes a lot of time and a lot of wrong bows. Some things cannot be written, you must feel it. My guide can help you a little and show you what happens in my working room.
First important thing is to find wood of good quality. The best manner is to cut the tree alone. Often I buy wood already cut.
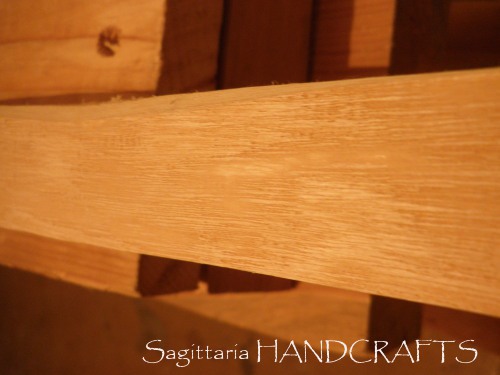
I start choosing good quality wood. Yearrings should be wide to and have high earlywood/latewood ratio.To prepare bowstave, I mark rough shape of the bow and saw it using a handsaw or electrical saw.
Cut stave of ash wood
After this operation I work only with hand tools without using any maschines. I clean the back of the bow on one choosen ring with a drawing-knife and spokeshave.
Clean year-ring on the back
Year-rings have to be followed
After this I begin to remove wood from the belly of the bow. I start working with a plane, and go on with spokeshave, when it is necessary to take off only little amount of the material. The work is quite easy with straight wood, but very difficult and time -consuming with wood full of waves and knots.
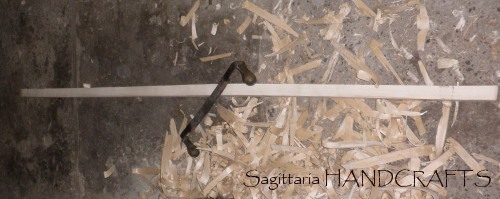
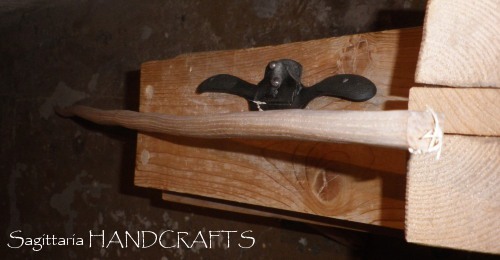
When the limb starts to bent, I use a tillering stick to draw the bow at first. First draw must be careful, because the bow must not to be overdrawn because this can cause string follow. It must be kept during the whole process.
Bow on the tillering stick
I mark the places where the limb doesn´t bent –the wood must be removed there. This part of work must be done very slowly and patiently because wrong moving of the tool can destroy 4 hours of my work. Finally I get a proper tiller and a required property of the bow – draw weight and draw length.
After this it is necessary to prepare the bow to the finish. I file the surface of the bow, go on sanding with garnet paper of 100 – and 150 – grit. The whole process takes down about 2 pounds of the original draw weight.
The upper nock I reinforce with yew wood plate.
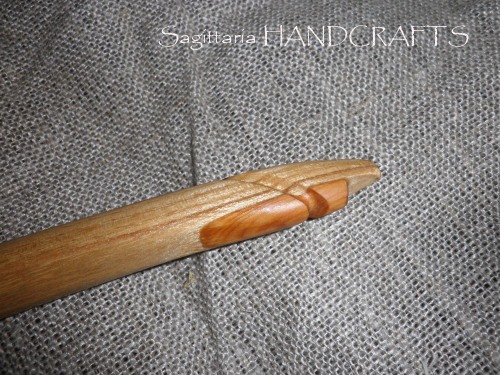
Upper nock with yew-wood plate
Other possibilities are polished horn nock. This makes the bow something special.

Horn nock, polished
Then I take the bow and start to heat the belly above the fire till the wood begins to go dark. This makes the bow stiffer and the surface more beautiful. Because I´m a smith, I work with forge.
Also this time I must be very careful not to burn the bow. It must be heated rather by hot air than the fire directly.
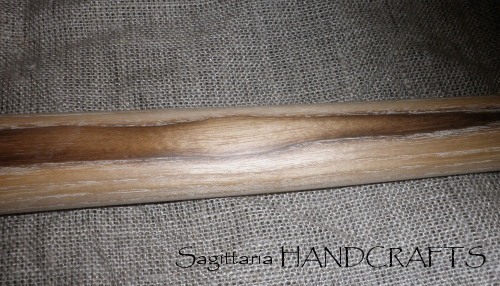
Heated belly of ash longbow
After the burning I sand the bow with garnet paper grit 220 and 400. This makes surface of the bow very smooth and pleasant for touch.
In the middle of the bow, where we handle the bow, there is just small mark, which gives the position of arrow.
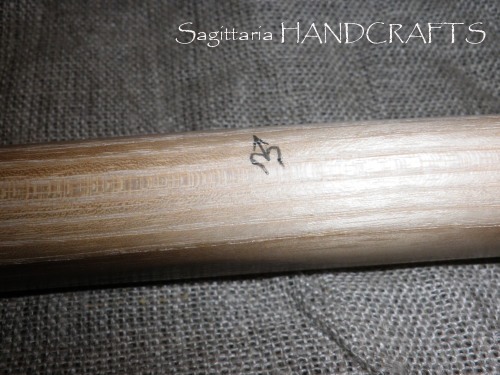
Middle mark of the bow
The last operation is using linseed oil as protection against moisture. This penetrating finish must get into the wood and fill the pores, so I use it repeatedly.

Heated belly of ash longbow - coated with linseed oil
After this nice process I draw the bow on tillering stick again to measure the final draw weight. According to the weight I prepare a number of linen threads that I use to make Flemish string. This means that every bowstring fits to the one bow. The middle of the string, where the arrow will be drawn, is reinforced with additional linen wrapping.
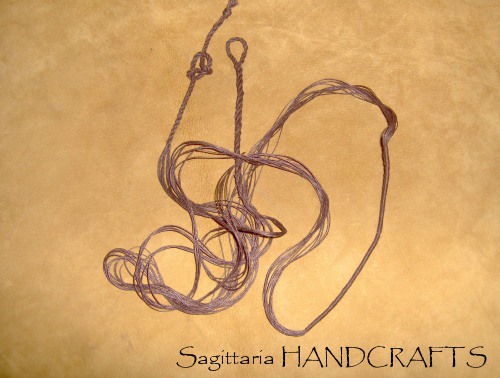
Flemish linen string
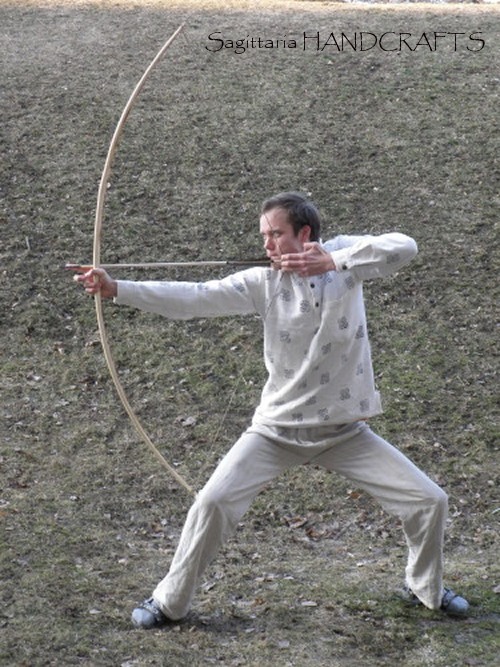
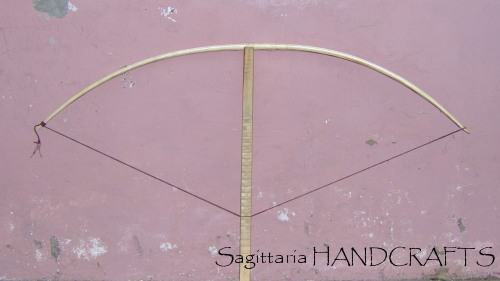
Final bow at full string: